

Applying car decals is a fantastic way to personalize your vehicle, transforming its appearance and making it stand out. This guide provides a comprehensive walkthrough, ensuring a professional finish.
What Are Car Decals?
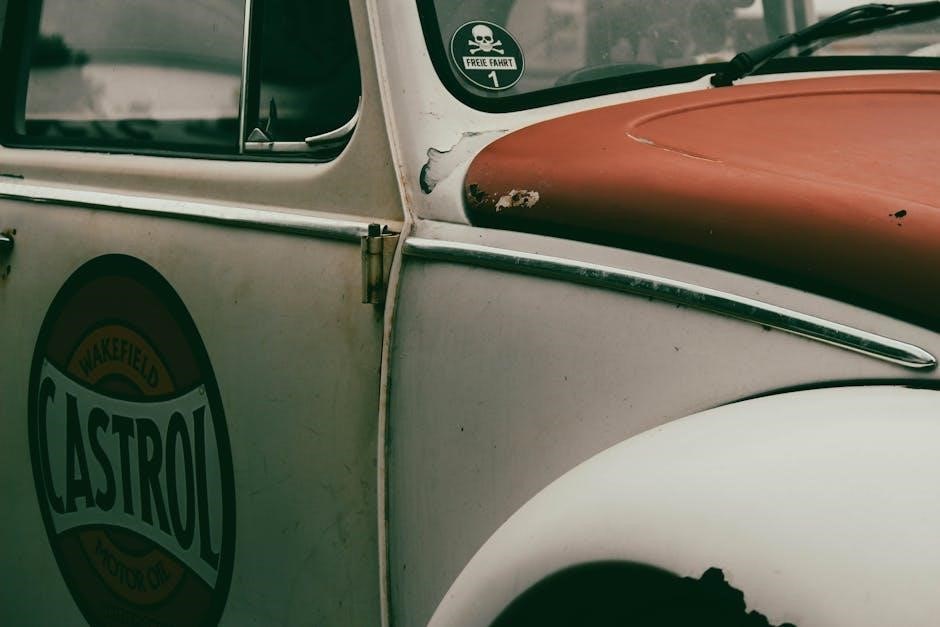
Car decals are vinyl stickers designed to adhere to vehicle surfaces, offering a durable and weather-resistant way to customize cars. They can feature various designs, logos, or text, making them a popular choice for personalization. Decals are typically made from high-quality vinyl, ensuring longevity and vibrant colors. They can be applied to windows, bumpers, or body panels, and are easy to remove without damaging the surface; Available in die-cut or transfer tape formats, decals provide a versatile way to enhance your car’s appearance, whether for aesthetic appeal or promotional purposes.
Why Use Car Decals?
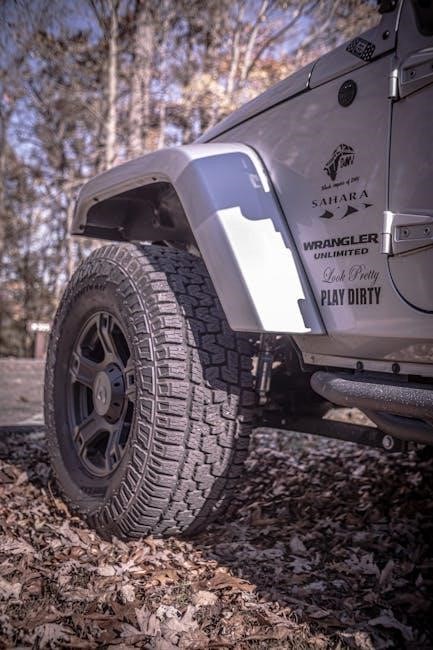
Car decals are an excellent way to add a personal touch to your vehicle, making it stand out on the road. They offer a durable and weather-resistant solution for customization, with vibrant colors that last. Decals are easy to apply and remove, leaving no residue behind. Whether you want to showcase your personality, promote a brand, or enhance your car’s aesthetic, decals provide a versatile and cost-effective option. They can be applied to various surfaces, including windows, bumpers, and body panels, making them a practical choice for both personal and promotional use.

Benefits of Car Decals
Car decals offer numerous benefits, including enhanced vehicle aesthetics and personalization. They are durable, weather-resistant, and easy to maintain, ensuring long-lasting appeal. Decals can be applied to various surfaces, such as windows, bumpers, and body panels, without damaging the paint. They are also removable without leaving residue, making them a great temporary customization option. Additionally, decals provide a cost-effective way to promote brands or express individuality. Their versatility and ease of application make them a popular choice for car enthusiasts and businesses alike, offering a professional finish with minimal effort.
Preparation for Applying Car Decals
Preparation for applying car decals involves cleaning the surface thoroughly, gathering materials, ensuring optimal conditions, and following a structured approach for a successful application.

Cleaning the Surface
Cleaning the surface is essential for proper decal adhesion. Use a gentle cleaning solution and a microfiber cloth to remove dirt, wax, or residue. Ensure the area is completely dry before proceeding. Avoid harsh chemicals that might damage the paint or interfere with the adhesive. For optimal results, clean the surface in a shaded area to prevent water spots. Once clean, allow the surface to air dry or gently wipe it with a lint-free cloth. A clean, dry surface ensures a strong bond between the decal and your car, promoting longevity and a professional finish.
Materials Needed
To apply car decals successfully, gather essential materials. A squeegee or credit card is necessary for smoothing the decal and removing air bubbles. Application fluid, such as water or a mild soap solution, helps prevent premature adhesion. Masking tape is useful for positioning and securing the decal during application. Transfer tape is required for transferring the decal from its backing to the vehicle. Additionally, have a clean, lint-free cloth and a mild cleaning solution on hand to prepare the surface. These tools ensure a smooth, professional application process and help achieve a flawless finish for your car decal.
Choosing the Right Decal
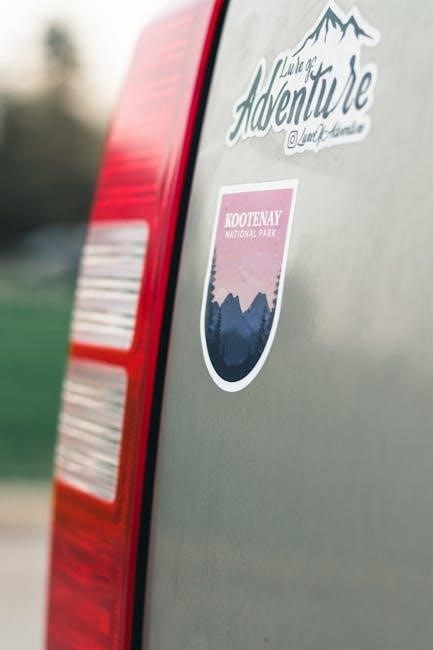
Selecting the right decal for your car is crucial for achieving the desired look. Consider the material, such as vinyl, which is durable and weather-resistant. Choose a design that complements your vehicle’s style and reflects your personality. Ensure the decal’s size matches the application area, whether it’s for windows, bumpers, or doors. Custom decals offer flexibility, allowing you to personalize colors and patterns. Additionally, verify the decal’s compatibility with your car’s surface, such as glass or paint. High-quality decals with clear instructions ensure a professional finish and long-lasting results. Proper selection guarantees a seamless application and a stunning appearance for your car.
Application Methods
Car decals can be applied using dry or wet methods, with or without transfer tape. Each technique ensures precise placement and bubble-free results for a professional finish.
Dry Installation Method
The dry installation method is the simplest way to apply car decals. Start by cleaning the surface with a damp cloth and letting it dry completely. Position the decal on the car without removing the backing, using masking tape to secure it. Once aligned, peel the backing paper slowly, starting from one corner. Use a squeegee or credit card to press the decal firmly onto the surface, smoothing from the center outward to avoid air bubbles. This method is ideal for small to medium-sized decals and ensures a professional-looking finish with minimal effort.
Wet Installation Method
The wet installation method involves using a mild application fluid, such as water mixed with a few drops of dish soap, to help position the decal accurately. Start by cleaning the car surface thoroughly. Lightly mist the fluid onto the surface and the adhesive side of the decal. Position the decal, using the fluid to slide it into place without sticking immediately. Once aligned, use a squeegee to press the decal firmly, starting from the center and working outward to remove excess fluid and air bubbles. Allow the decal to dry completely before exposing it to weather. This method is ideal for larger decals and ensures a smooth, bubble-free application.
Using Transfer Tape
Transfer tape is a crucial tool for applying decals, especially for complex designs. Cut the tape to size and place it over the decal, pressing firmly to ensure adhesion. Peel the backing paper, leaving the decal stuck to the transfer tape. Position the decal on the car, aligning it carefully. Once in place, slowly remove the transfer tape at a sharp angle, ensuring the decal remains on the surface. This method prevents misalignment and is ideal for intricate designs. Use a squeegee to smooth out any air bubbles during the process for a professional finish.
Step-by-Step Application Process
Clean the surface, position the decal with masking tape, peel the backing, and apply using a squeegee. Smooth out air bubbles and ensure proper adhesion for a flawless finish.
Positioning the Decal
Positioning the decal accurately is crucial for a professional finish. Use masking tape to secure the decal on your car without removing the backing paper, creating a hinge for easy adjustment. Step back to visually assess alignment and placement, ensuring it matches your desired location. Make any necessary adjustments before proceeding. Once satisfied, the decal is ready for application. Proper positioning prevents misalignment and ensures a seamless finish. Take your time to align it perfectly, especially for intricate designs or text. A well-positioned decal guarantees a polished look for your vehicle.
Applying the Decal
Once the decal is properly positioned, peel the backing paper from one corner, ensuring the adhesive side doesn’t touch the surface prematurely. Lightly mist application fluid on the adhesive and car surface to allow repositioning. Carefully place the decal, aligning it with your desired position. Use a squeegee or soft cloth to press firmly, starting from the center and moving outward to smooth out air bubbles. Work gradually, ensuring the decal adheres evenly. Avoid applying too much pressure, which could stretch or damage the material. Continue until the entire decal is securely applied and smooth.
Removing Transfer Tape
After applying the decal, it’s time to remove the transfer tape. Peel it back slowly at a sharp angle, starting from one corner and working your way across. Be patient to ensure the decal stays adhered to the surface and doesn’t lift with the tape. If any air bubbles appear, gently press them outward with a squeegee or credit card. Once the tape is fully removed, inspect the decal for proper adhesion. Allow it to cure for at least 24 hours before exposure to weather or washing. This step ensures a durable, long-lasting finish for your car decal.
Tools and Accessories
Essential tools for decal application include a squeegee to smooth surfaces, application fluid for positioning, and masking tape to secure decals during installation, ensuring precise alignment and adhesion.
Squeegee
A squeegee is an essential tool for applying car decals, helping to smooth out the vinyl and remove air bubbles. Use firm, even pressure to ensure proper adhesion. Start from the center and work outward to eliminate bubbles effectively. This tool is crucial for both dry and wet installation methods, ensuring a professional finish. Regularly cleaning the squeegee with mild soap and water maintains its effectiveness. For large decals, a long-handled squeegee may be more efficient, while smaller ones are ideal for detailed areas. Proper squeegee technique prevents wrinkles and ensures a flawless application every time.
Application Fluid
Application fluid is a water-based solution, often mixed with a few drops of dish soap, used to prevent decals from sticking too quickly. This allows for adjustments during installation. Lightly mist the fluid onto the decal’s adhesive side and the car’s surface using a spray bottle. Excess fluid should be squeegeed out to avoid air bubbles. This step is optional but highly recommended for precise positioning and smoothing. Proper use ensures a bubble-free application and enhances adhesion. Always clean the surface beforehand for optimal results. The fluid helps achieve a professional finish by allowing the decal to settle evenly.
Masking Tape
Masking tape is essential for securing and aligning decals during application. Apply small pieces to the decal’s top edge, creating a hinge that holds it in place without removing the backing. This allows precise positioning and adjustments before final application. Once aligned, peel the backing and smooth the decal. Masking tape prevents misalignment and ensures the decal adheres evenly. It’s a simple yet crucial tool for achieving professional results. Proper use guarantees a flawless finish and saves time during the application process. Always use high-quality tape to avoid residue or damage to the decal or vehicle surface.
Tips for a Flawless Application
Ensure a smooth, bubble-free finish by cleaning the surface thoroughly, using the right tools, and applying decals patiently. Proper preparation and alignment are key to professional results.
Avoiding Air Bubbles
To prevent air bubbles, ensure the surface is clean and dry before application. Use a squeegee to smooth the decal from the center outward, applying even pressure; If bubbles appear, gently pierce them with a needle and press the air out. Applying a small amount of application fluid can also help reduce friction and prevent bubbles from forming. Work methodically, taking your time to align the decal correctly. Small bubbles near the edges may disappear on their own over time. Proper technique and patience are key to a bubble-free finish.
Preventing Wrinkles
To prevent wrinkles, ensure the decal is applied smoothly and evenly. Start by cleaning the surface thoroughly to remove dirt or oils. Use a squeegee or credit card to press the decal firmly, starting from the center and working outward. Avoid stretching the decal during application, as this can cause wrinkles. If the decal is large, consider folding it along the center line and applying one half at a time. Take your time and align the decal carefully before pressing it onto the surface. For stubborn wrinkles, gently heat the area with a hairdryer to relax the vinyl, then smooth it out with a squeegee.
Ensuring Proper Adhesion
Proper adhesion is crucial for a long-lasting decal. Start by cleaning the surface with a mild soap solution to remove dirt, wax, or oils. Ensure the area is completely dry before applying the decal. For optimal results, apply the decal at room temperature (60–74°F). Avoid using harsh chemicals or abrasive materials, as they can weaken the adhesive. Once applied, allow the decal to cure for at least 24 hours before exposure to extreme weather or car washing. This ensures the adhesive fully bonds to the surface, promoting durability and a professional finish.
Maintenance and Aftercare
Regular cleaning with mild soap and water helps maintain your decal’s appearance. Avoid harsh chemicals or abrasive materials, as they can damage the vinyl or weaken adhesion.
Cleaning the Decal
To maintain your decal’s appearance, clean it regularly with a mild soap and water solution. Use a soft cloth or sponge to gently wipe away dirt and grime, avoiding harsh chemicals or abrasive materials that could damage the vinyl. For tougher stains, lightly scrub in a circular motion, then rinse with clean water. Avoid using high-pressure washes or sharp objects, as they can lift edges or scratch the surface. Dry the area with a microfiber towel to prevent water spots. Regular cleaning ensures the decal remains vibrant and securely adhered to your car.
Protecting from Weather
Protecting your car decal from weather elements is crucial for its longevity. Use UV-resistant decals to prevent fading from sunlight exposure. Avoid extreme temperatures, as they can weaken the adhesive. Regular cleaning with mild soap and water helps remove dirt and contaminants. For added protection, apply a clear sealant around the edges to shield against rain and snow. Allow the decal to cure for at least 24 hours before exposing it to harsh weather. Proper care ensures your decal remains vibrant and securely in place, maintaining your car’s personalized look for years to come.
Longevity Tips
To ensure your car decal lasts, regular maintenance is key. Clean the decal gently with mild soap and water, avoiding harsh chemicals or abrasive materials. Avoid high-pressure washes, as they can damage the vinyl. For added protection, apply a clear sealant around the edges to shield against weathering. Allow the decal to cure for at least 24 hours before exposing it to extreme conditions. By following these tips, your decal will remain vibrant and securely in place, enhancing your car’s appearance for years to come. Proper care ensures long-lasting results and maintains the decal’s adhesive integrity.
Advanced Techniques
Mastering advanced techniques enhances your car decal application skills. Learn to align multiple decals seamlessly, handle complex shapes, and layer designs for a professional, customized look effortlessly.
Multiple Decal Alignment
Aligning multiple decals requires precision and patience. Start by positioning the largest decal first, using masking tape to secure it as a hinge. Ensure the decal is centered and level, then gradually add smaller decals around it, matching their alignment with the main design. Use a squeegee to smooth each decal, starting from the center and working outward to prevent air bubbles. For intricate designs, apply one decal at a time, allowing each to set before adding the next. This method ensures a seamless, professional-looking finish. Proper alignment enhances the overall aesthetic, making your car stand out with a polished appearance.
Complex Shapes and Designs
Applying decals with complex shapes or intricate designs requires extra care to ensure proper adhesion and alignment. Start by carefully positioning the decal, using masking tape to secure it in place. For curved or irregular surfaces, use a squeegee or credit card to gently press the decal, working from the center outward. Avoid stretching or pulling the decal, as this can cause distortion. For multi-layered designs, apply one section at a time, ensuring each part aligns perfectly before moving on. Use a small tool, like a pin, to smooth out tight corners or detailed areas. Patience and precision are key to achieving a flawless finish.
Layering Decals
Layering decals involves applying multiple decals on top of each other to create intricate designs. Start by applying the base decal, ensuring it is securely adhered. Once set, position the next decal, using transfer tape to align it perfectly. Use a squeegee to smooth out air bubbles, working from the center outward. Repeat this process for each layer, allowing each decal to fully adhere before adding the next. For complex designs, use a small tool to adjust edges and ensure proper alignment. Patience and precision are key to achieving a seamless, professional-looking finish with layered decals.
Troubleshooting Common Issues
Address air bubbles by piercing them with a needle and smoothing with a squeegee. For lifted edges, gently press down and secure with heat. Correct misalignment by carefully peeling and repositioning the decal.
Fixing Air Bubbles
If air bubbles appear during decal application, use a needle or pin to carefully pierce the bubble. Gently smooth it out with a squeegee or credit card, working from the edge toward the center. For larger bubbles, apply light pressure gradually to avoid stretching the decal. Ensure the surface is clean and dry before reapplying. Acting quickly, especially while the adhesive is still fresh, makes the process easier. This method prevents the bubble from becoming permanent and ensures a smooth, professional finish. Regularly inspecting the decal after application helps catch and fix issues early.
Repairing Lifted Edges
If the edges of your decal start to lift, address the issue promptly to maintain adhesion and appearance. Clean the area around the lifted edge with a mild soap solution to remove dirt or oils. Use a squeegee or your finger wrapped in a soft cloth to gently press the edge back into place. Apply a small amount of application fluid to the edge and smooth it out thoroughly. Allow the decal to cure for 24 hours to ensure proper adhesion. For stubborn edges, a hairdryer on a low setting can help reactivate the adhesive. Regular inspections and quick repairs prevent further lifting.
Correcting Misalignment
If your decal is misaligned, act quickly to adjust it before the adhesive sets. Use masking tape to secure one side, creating a hinge. Gently peel the decal back and reposition it, ensuring proper alignment. Lightly mist application fluid on the surface to allow for smooth adjustment without losing adhesion. Once aligned, use a squeegee to press the decal firmly, starting from the center and moving outward. Avoid stretching the decal, as this can cause distortion. Patience and careful adjustment are key to achieving a precise, professional-looking result. Proper alignment ensures the decal adheres evenly and maintains its appearance over time.
With these steps, you’ve successfully applied your car decal. Take pride in your personalized vehicle and enjoy the unique style it brings to the road!
Final Tips
For a flawless decal application, remember to work patiently and avoid rushing. Ensure the surface is clean and dry before starting. Always use the right tools, like a squeegee, to smooth out air bubbles; If applying in direct sunlight, consider using application fluid to prevent the decal from sticking too quickly. After application, allow the decal to cure for 24 hours before washing your car. Regular cleaning with mild soap and water will help maintain its appearance. Avoid harsh chemicals to ensure longevity. By following these tips, you’ll achieve a professional-looking result that enhances your vehicle’s style.
Enjoy Your Customized Car
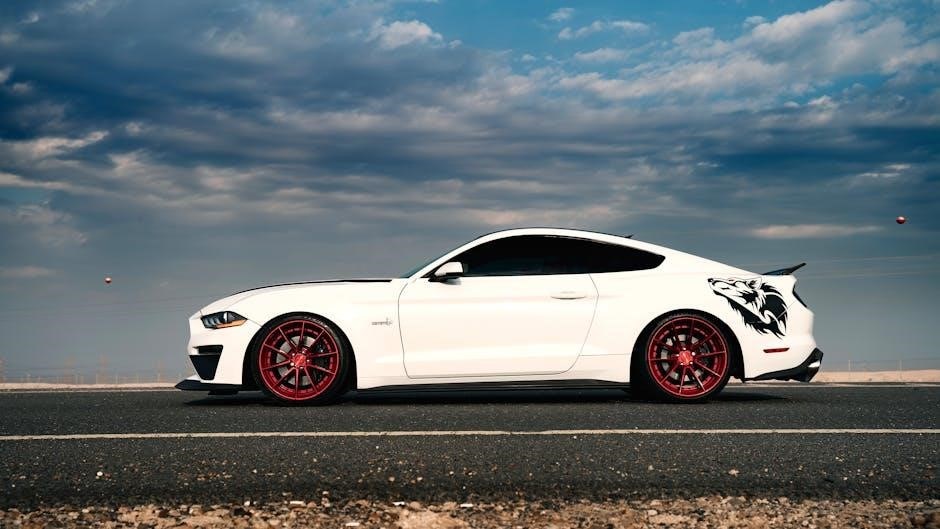
Once your decal is perfectly applied, step back and admire your handiwork! A well-installed decal can completely transform your car’s appearance, giving it a unique and personalized touch. Take pride in knowing you’ve enhanced your vehicle’s style with a professional-looking finish. Properly maintained, your decal will withstand the elements and continue to look great for years. To keep it in top condition, avoid using harsh chemicals and regularly clean with mild soap and water. Enjoy the compliments and the satisfaction of driving a car that reflects your personality. Happy customizing!